

Creating a Mac Service for the RLM Server
Creating a Mac Service for the RLM Server
Summary
This guide will walk you through how to create a Mac service for the RLM Server. Sudo permission may be required to interact with some of the directories needed to create the service, such as /Library, but should not be required for user library, i.e. ~/Library
- Download an Admin bundle from our website.
- Extract the contents of the downloaded admin bundle
gunzip [RLM admin bundle name].tar.gztar xvf [RLM admin bundle name].tar
Option #1: Creating the RLM Service on Mac using Login Items & Extensions
- Navigate to System Settings -> General -> Login Items & Extensions
- Click the '+' icon and add the rlm executable
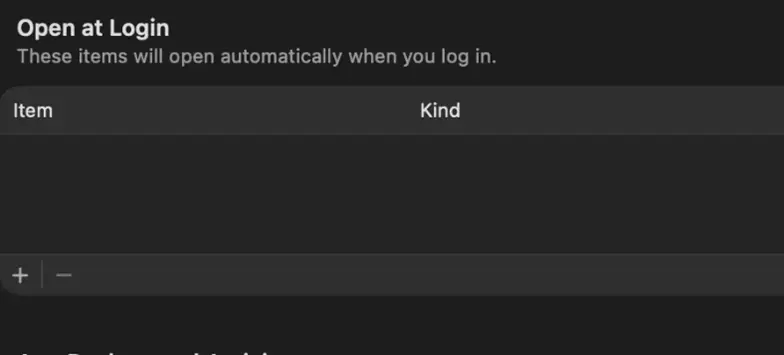
- RLM will run on Login for this user
Option #2: Creating the RLM Service on Mac using launchctl and LaunchAgents (starts on login)
- Open a terminal by going to Spotlight (Command + Space) -> Type in
Terminaland hitReturn - Change directories:
cd /Library/LaunchAgents - Create a file here for your service (may need to be done as sudo)
touch com.[your-user].rlm-service.plist- Open the file in a text editor either from the terminal (nano, vim) or directly from Finder
- Insert this template into your service file and make any necessary changes:
<?xml version="1.0" encoding="UTF-8"?>
<!DOCTYPE plist PUBLIC "-//Apple//DTD PLIST 1.0//EN"
"http://www.apple.com/DTDs/PropertyList-1.0.dtd">
<plist version="1.0">
<dict>
<!-- Unique label for your service, change [your-user] to your username -->
<key>Label</key>
<string>com.[your-user].rlm-service</string>
<!-- Run the RLM server-->
<key>ProgramArguments</key>
<array>
<!-- RLM executable -->
<string>/Path/To/RLM</string>
<!-- License file - Optional -->
<string>-c</string>
<string>/Path/To/License/File </string>
<!—RLM debug log -->
<string>-dlog</string>
<string>/Path/To/Log </string>
</array>
<!-- Start it when you log in -->
<key>RunAtLoad</key>
<true/>
<!-- Restart if it exits -->
<key>KeepAlive</key>
<true/>
<!-- Set working directory to where your files live -->
<key>WorkingDirectory</key>
<string>/Path/To/Dir </string>
</dict>
</plist>
** Note that any startup options must be added string-by-string in the ProgramArguments section, i.e. <string>-dlog</string><string>/Path/To/Debuglog</string>
Creating the RLM Service on Mac using launchctl and LaunchAgents (Continued)
- Save the changes made to the .plist file
- You can double check that the contents of the plist file are valid by running (may need to be done as sudo):
plutil -lint ~/Library/LaunchAgents/com.[your-user].rlm-service.plist
- You can double check that the contents of the plist file are valid by running (may need to be done as sudo):
- Bootstrap the service (you may need to do this as sudo):
sudo launchctl bootstrap gui/$(id -u) ~/Library/LaunchAgents/com.[your-user].rlm-service.plist - Enable the service:
launchctl enable gui/$(id -u)/com.[your-user].rlm-service.plist - Kickstart the service:
launchctl kickstart -k gui/$(id -u)/com.[your-user].rlm-service.plist - Verify that the service is running:
launchctl print gui/$(id -u)/com.[your-user].rlm-service

Disabling the service if needed:
sudo bootout gui/$(id -u) ~/Library/LaunchAgents/com.[your-user].rlm-service.plist