Customer Portal
In addition to the RLM Cloud administration program, RLM Cloud includes a Customer Portal to allow your customers to view their own licenses and servers. The customer portal contains a subset of the RLM Cloud functionality, specifically the ability to view licenses and servers associated with their company.
When you create portal users, it is important to associate them with the contact who “owns” the license servers, otherwise the portal user will not be able to view any of their license servers. In addition, starting in v14, you can create the special “ISV Portal Admin” account, which has visibility into all the ISV’s license servers. This is useful for an ISV who wants to download large report logs from many different customer servers. Be sure to not assign the “ISV Portal Admin” priv to any normal customers, because they will be able to see all the other customer servers.
Creating RLM Cloud Portal Accounts
You create the first customer account in the main RLM Cloud admin tab, using the “Portal Users” sub-tab. Once you have created your customer’s admin account, they can log in and create new users on the portal itself, at:
All RLM Cloud Portal accounts have an associated access level. An account has one of 4 levels of access (with increasing access rights):
View
Edit
Admin
Portal ISV Admin
An account with View privilege is used for anyone who needs to monitor all license servers, licenses, and log files.
An account with Edit privilege can do everything that an account with “View” privilege can do, and in addition, this user can restart their servers and delete log files.
An account with Admin privilege can do everything the account with “Edit” privilege can do, and in addition, this user can add and remove users.
Finally, an account with Portal ISV Admin privilege can see all license servers for all customers on the server machine. This account privilege should never be given to a customer.
Your customer logs into the portal on their license server machine (generally called lsNNN.rlmcloud.com), in the “rlmcloud” directory. So for example, if your customer’s server machine is ls9.rlmcloud.com, the portal URL would be:
The main customer portal screen is shown here:
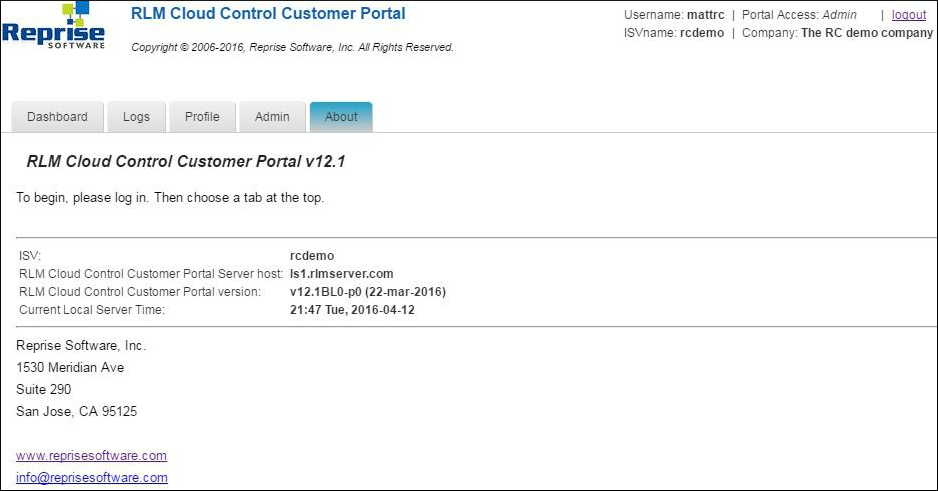
As you can see, the interface is similar to RLM Cloud.
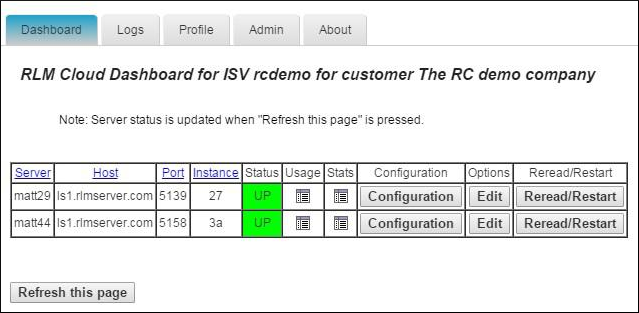
Dashboard Tab
Selecting Dashboard shows all the license servers assigned to the company (in this case, “The RC Demo Company”). This screen allows your customer to query the status of the server, view usage statistics on the server, and view the configuration of the server (the list of licenses being served, the prototype license file that needs to be used, the license password, etc. Additionally, your customer can edit the options file associated with any of their license servers. Finally,they can do a reread or restart on the server (they cannot shut the server down).
Note that the named user list is maintained via the dashboard tab, by selecting Usage, then listing the users for any license that is a named-user license. See Managing the Named User List for more information.
The main dashboard screen is shown here:
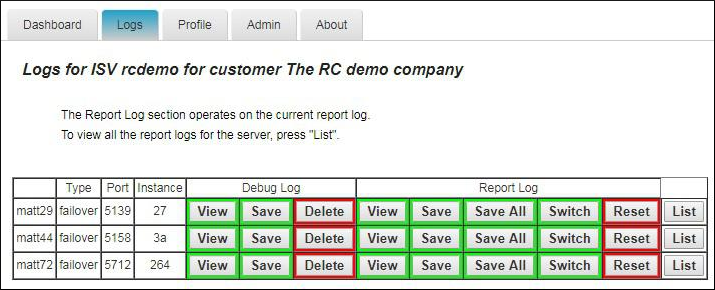
Logs Tab
The Logs tab allows your customer to view the debug and report logs from their license servers, but not the RLM debug logs. Since the portal software is running on the license server node itself, downloads of the report logs will include the entire file, unlike on the rlmcloud.com main site. In addition, on the portal there is the additional Save All button on each server line. This will create a gzipped, tar file of all of the server’s report logs for download. Otherwise, this tab is identical to the Logs tab you use on the main rlmcloud.com site:
Profile Tab
The Profile tab is identical to the Profile tab on the main site. Your customer can edit their account information on this tab.
Admin Tab
The Admin tab (for portal Admin users) is a very stripped-down version of the admin tab on the main site. This tab allows editing of the status color settings and the server timeout value. Also, there is a Users tab to manage the portal’s users. Once you create a single Portal Admin account, your customer can then create additional portal users. Alternately, if you do not create and Admin account on the portal, your customer will be able to use the portal, but not create new users.
The admin tab on the portal also allows auto-saving of the report logs for the customer’s servers.
About Tab
This is similar to the About tab on the main site.